PROS: Visual Image and IR image overlapping, great build quality, Big LCD screen, Video streaming
CONS: Battery life only 2 hours, IR resolution could be bigger
| Product | Type | Resolution | Battery capacity | Waterproof | LCD screen | Price |
|---|---|---|---|---|---|---|
Flir C2 | Handheld | 80×60 | 2 hours | No | 3″ capacitive | Click for more info |
FLIR C3 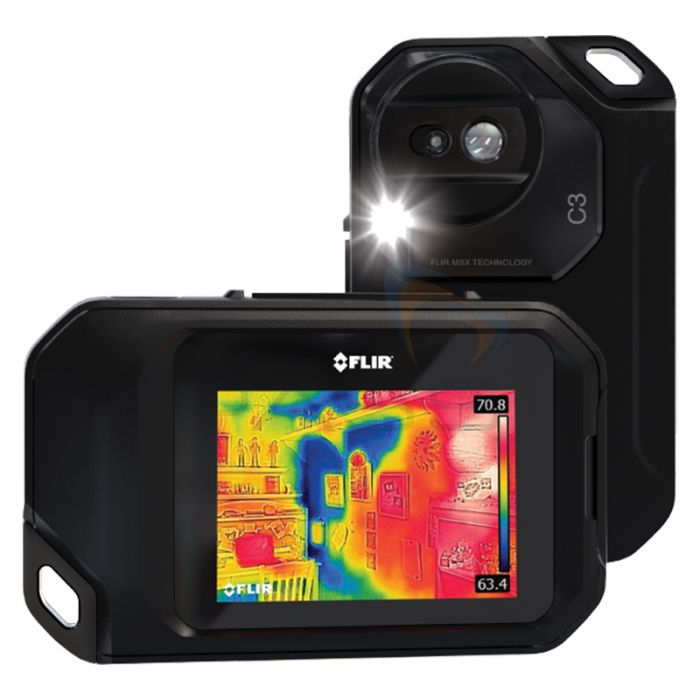 | Handheld | 80 x 60 | 2 hours | No | 3″ | Click for more info |
FLIR ONE Pro 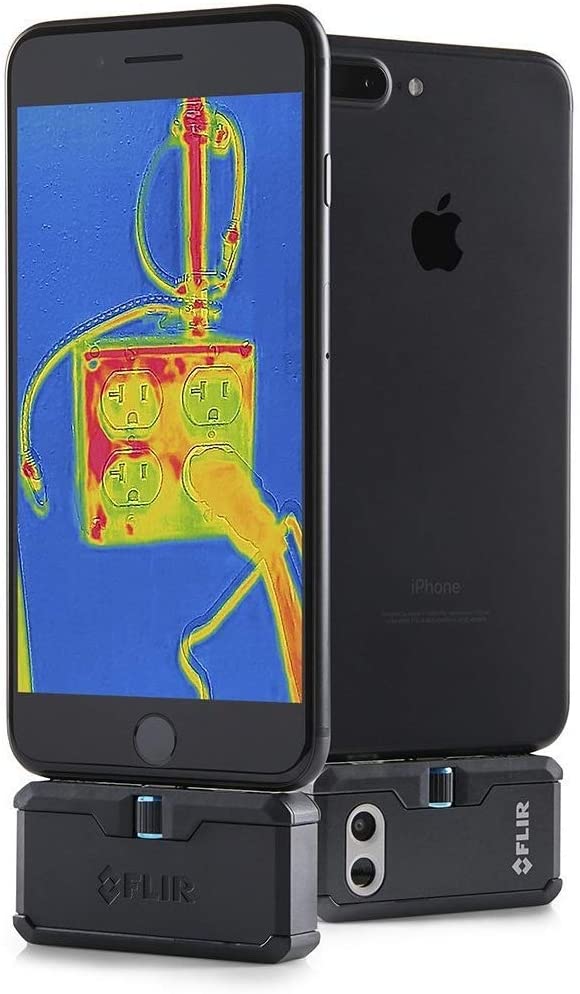 | Smartphone (2 different versions – Android & iOS) | 160 x 120 | 45 minutes | No | Uses Smartphone screen | Click for more info |
FLIR C5 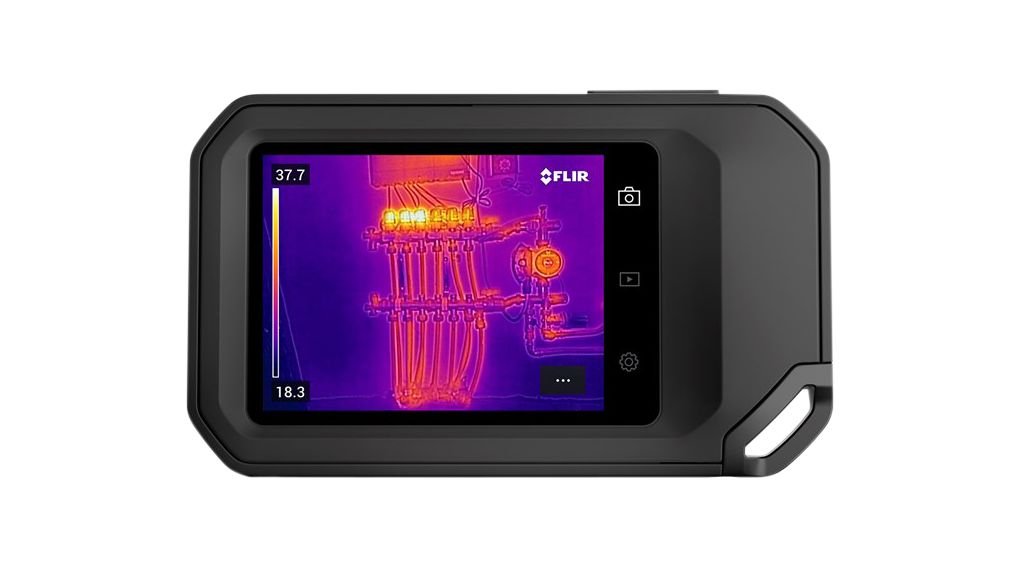 | Handheld | 160 x 120 | 4 hours | Yes | 3.5″ | Click for more info |
FLIR E5 Compact 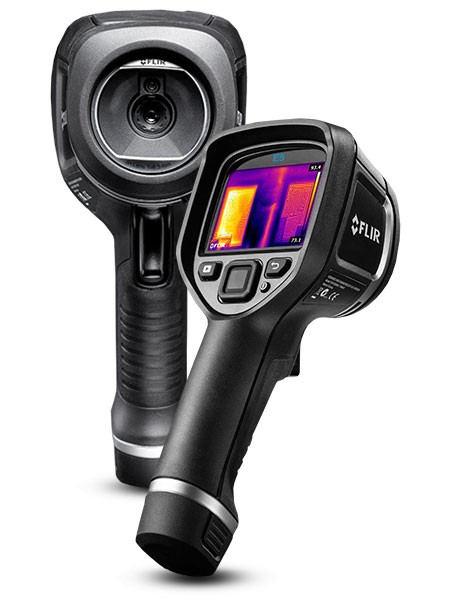 | Handheld | 120 x 90 | 4 hours | No | 3″ | Click for more info |
Seek Thermal Reveal 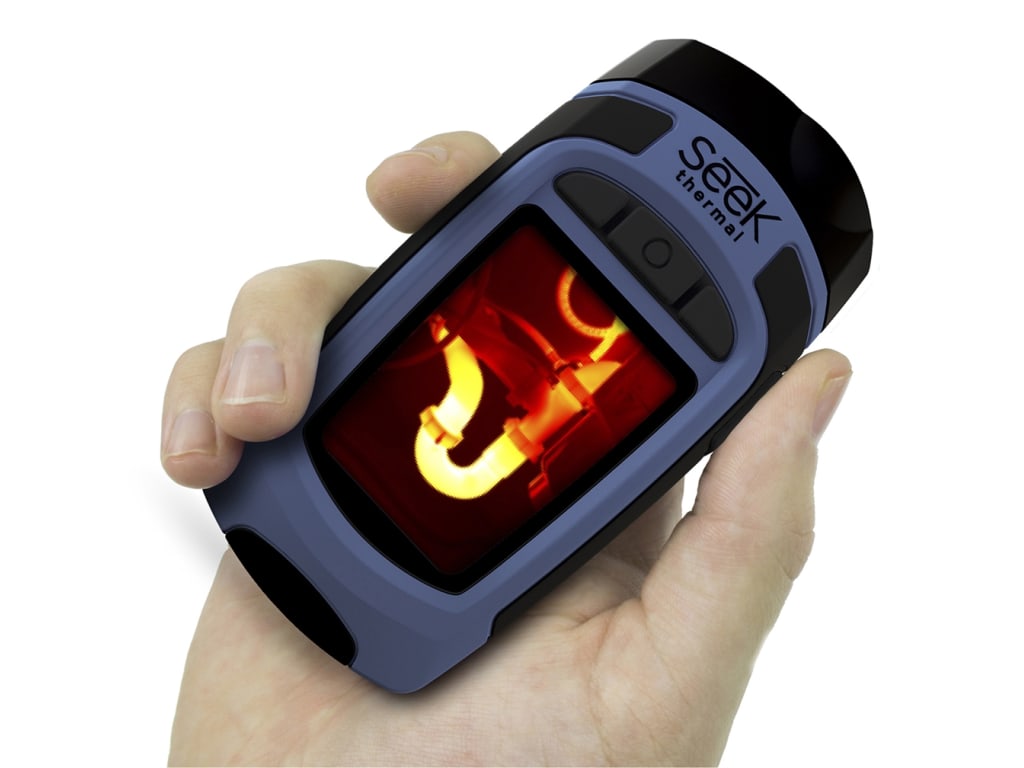 | Handheld | 206 x 156 pixels | 10 hours | No | 2.4″ | Click for more info |
Flir C2 Specifications
| Type | Handheld |
|---|---|
| Resolution | 80×60 |
| Pixels | 4800 pixels |
| Connectivity | USB Micro-B |
| Temperature range | 13 ->302°F( -10 to 150°) |
| Accuracy | +/-2 °C |
| Thermal sensitivity | 0.10 C |
| Distance | 10 feet |
| Storage Type | SD Card |
| Battery capacity | 2 hours |
| Dimensions | 4.90 x 3.10 x 1.00 inches |
| LCD screen | 3″ capacitive |
| Refresh rate | 9Hz |
| Applications | Building Inspection, HVAC, Home Inspection, Restoration |
| View Angle | 41° x 31° |
Flir C2 – Specs & Review
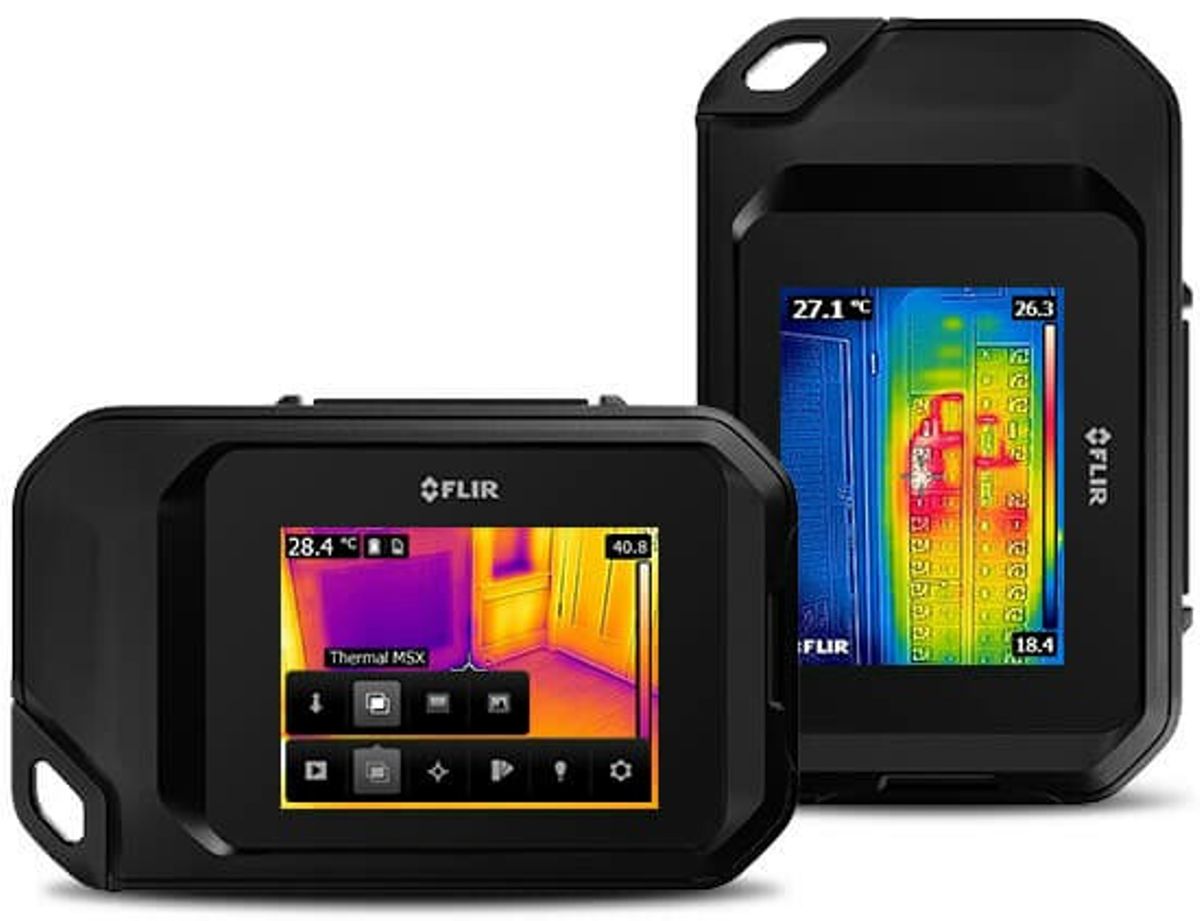
The Flir C2 thermal imager is a handheld thermal camera in the form factor similar to a digital camera. It fits great in your pocket and has a generous LCD screen. The design is ruggedized so it will withstand a fall or two easily.
It can capture thermal images and has a USB Micro-B port (It’s the one you get on the Western Digital external Hard-drives) for downloading them to your computer. It doesn’t have the wi-fi connectivity that the Flir C3 has. On the back of the camera you’ll find 3 things: the Infrared sensor which captures the thermal images, a regular visible light camera and an LED light that can be either a flashlight or a regular flash when you take a picture. We will cover how they all work together in harmony in the next category.
Another cool feature is that the camera is capable of streaming video, but only via USB cable.
But let’s go beyond the specs and the datasheet in our Flir C2 compact thermal imager review and have a look at what you can adjust on the camera. It has 4 options of color palettes, Rainbow, Iron, Rainbow HC and Gray. If you just want to spot the hottest and coldest spots, I would suggest you go for gray.
You can set the measurement setting to either measure the center spot or have a dynamic crosshair that always stays on the hottest point in the image or on the coldest point. You can also choose to have no measurement crosshair.
You can also switch between either viewing the thermal image, the visual image or an overlap of both. The Flir C3 also has an additional option that the C2 doesn’t: PIP Picture-in-Picture which displays the visual image on the screen and the center part shows the thermal view.
One useful feature is the one to lock the color scale on the right.
The Flir c2 thermal camera allows you to set the emissivity depending on what you are measuring. It is good to change it if you are measuring body temperature or other special materials because it can bring out more accurate measuring and better images. You can also set the distance to the object you are measuring to get a more accurate reading.
You can view the pictures that you took in the gallery but you don’t need to limit yourself to that because you can do many more adjustments in the Flir app for Windows and Mac.
The rest of the settings are basic: time, date, units (Fahrenheit or Celsius), Display brightness and Cmaera information. You can also view how much free storage you have. The standard is 165MB.
The start-up time needs to be improved, it takes ages for it to start, over 20 seconds until you can capture a thermal image.
You can update the firmware via the included Flir Tools software. If you want a camera with OTA updates, then that is the Flir C5.
Flir C2 – Thermal imaging quality
Since it is equipped with a visual camera, it uses something called Multi Spectral Dynamic Imaging (MSX image enhancement) to basically overlap a visual image with a thermal image. Thermal imaging devices that only have an IR sensor are more difficult to use because you can’t really see important details. It is especially useful when you have to present the pictures to somebody who is not there because they can see exactly what you are measuring. We like the feature and we would love to see it on all handheld thermal cameras.
The thermal images on the Flir C2 compact thermal camera are stored in radiometric form so you get all the temperature data and you can later adjust the ratio of thermal image to visual image so you can highlight what is important. This makes sense because you shorten the data acquisition time and allow yourself enough time to analyse the thermal data collected.
The device saves the photos in JPEG image file format on the internal memory in JPEG format together with the 14-bit measurement data included. The resolution of the photos is going to be 640 x 480 pixels.
The number of pixels is not a very big one for this price, the infrared sensor cannot capture more than 4800 measurement pixels in the form of an IR resolution of 80 x 60 from the Lepton infrared sensor. It has a good frame rate with a refresh rate of 9Hz. What does 9Hz mean? Basically, the image refreshes 9 times per second.
This infrared camera doesn’t have a manual focus feature, it’s a fixed focus camera. The minimum focus distance is approximately 0.5m.
Flir C2 – Temperature Range, Accuracy
Flir says that their device can measure temperature with a thermal sensitivity “below” 0.10° C. That’s very good but it is also what you would normally get from a thermal camera that has the same price.
Something we are not satisfied with is the object temperature range. It varies from -10 celsius to 150 celsius. In many parts of the world in the winter, the temperature can easily drop below the -10 limit and that is going to make the thermal imaging camera unusable in cold weather. Its operating temperature is between -10 C and 50 C. If you want to check insulation on your roof, windows, door, etc. from the outside in the cold winter, it’s not going to behave great.
Luckily for leaks in plumbing, electrical inspections, checking for structural defects in construction, plumbing, basic HVAC inspections for heating and air conditioning to detect energy waste or automotive it will perform perfectly. Engineers even use cameras like this one to test equipment.
Let’s have a look at the other metrics: The temperature measurement accuracy is +/-2° C which is average, it’s not better or worse than the rest of its competitors together with a moderately wide field of view of 41 x 31.
In order to properly focus on the object, for the thermal sensor you have to keep a minimum distance of 0.5 feet and if you want to capture using the MSX technology it is 3.3 feet.
Flir C2 – Battery life & Memory
What we don’t like about the Flir C2 compact camera is that the storage is fixed an non-expandable. Most manufacturers choose to go for a simple SD card slot but on the Flir C2, you are limited to the internal memory storage which can hold up to 500 images in radiometric form. The good part is that you literally get a measurement for every pixel in the image, 4800 spots to be precise. You can import all of that data and fiddle with it later into the Flir Tools software which you can download from the manufacturer’s website. You don’t need to bother with any drivers, because it is plug and play.
The LCD screen is big and brith with a diagonal of 3″ and a resolution of 320 x 240 pixels. And the best part? It is a touchscreen LCD. No buttons. It works out at a display density of 133 PPI, well below the modern smartphones but with these devices it is standard, but it does have auto-orientation.
The internal battery is a 3.7V Rechargeable Li-ion polymer battery that will power your thermal camera for about 2 hours. We would have liked to have more battery life as this kind of money can get you a camera with at least 4 hours of battery life. It does charge fast, it takes just 1.5 hours for it to completely charge. There is also an auto-shutdown feature for better power management.
The camera is not waterproof or dustproof but you can find a CASEMATIX case on Amazon and eBay. It is just a carrying case, so you can’t use it while it is inside. Inside the package you’ll find a nylon pouch, a printed getting started guide and a power supply/charger with EU, UK, US, CN and Australian plugs. Flir used to supply it with a USB memory stick with documentation, but they discontinued that storage media.
The Flir C2 compact thermal imaging system comes with a 2-year warranty for the camera and 10 for the sensor as usual with all Flir infrared cameras. If you want to extend its functionality or hack it you can access it via the Flir Atlas SDK.
Normally, 320 x 240 should be more than enough for most use cases, but if you need even more pixels, you should look at the EXX series or the EST thermal screening solutions. Should you be looking for a mobile version of this camera, Flir Systems makes the Flir One Pro which can do the job of finding hidden heat patterns and hot spots sometimes just as well as full handheld thermal vision cameras.
