PROS: Large LCD touchscreen, Wi-fi, Video Streaming, MSX for overlapping visual image and thermal image
CONS: Battery could last longer, IR resolution could be higher and also temperature range.
| Product | Type | Resolution | Battery capacity | Waterproof | LCD screen | Price |
|---|---|---|---|---|---|---|
FLIR C3 | Handheld | 80 x 60 | 2 hours | No | 3″ | Click for more info |
FLIR C5  | Handheld | 160 x 120 | 4 hours | Yes | 3.5″ | Click for more info |
FLIR ONE Pro  | Smartphone (2 different versions – Android & iOS) | 160 x 120 | 45 minutes | No | Uses Smartphone screen | Click for more info |
Seek Shot  | Handheld | 206 x 156 | Li-Ion, 4 hours | No | 3.5″ | Click for more info |
FLIR TG165 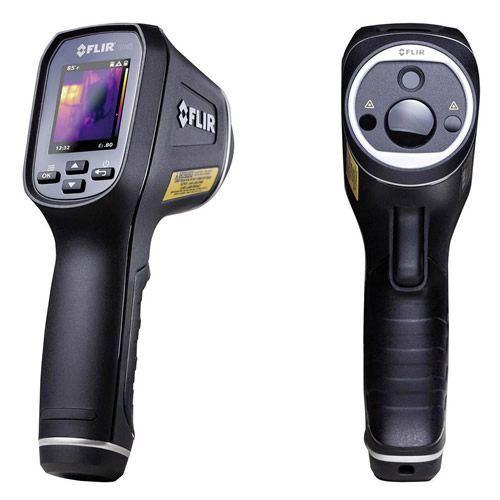 | Handheld | 80 x 60 | 5 hours | No | 2″ TFT | Click for more info |
Seek Thermal Reveal 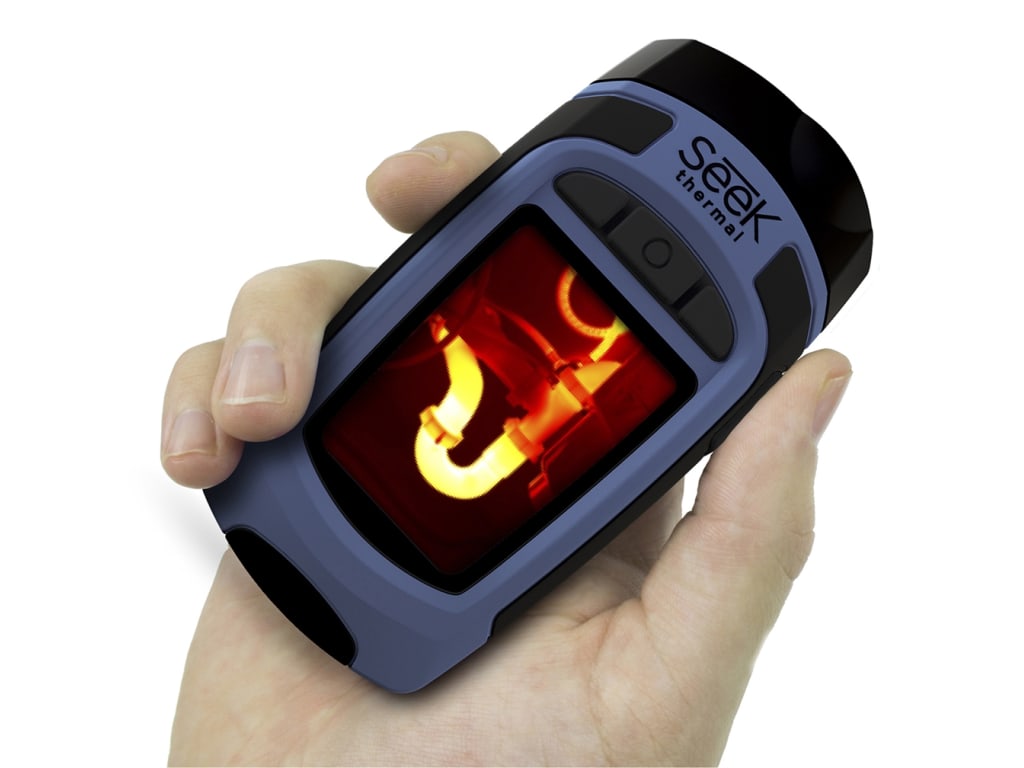 | Handheld | 206 x 156 pixels | 10 hours | No | 2.4″ | Click for more info |
FLIR C3 Specifications
| Type | Handheld |
|---|---|
| Resolution | 80 x 60 |
| Pixels | 4800 pixels |
| Connectivity | USB / Wifi |
| Temperature range | 13 ->302°F(-10 to 150°) |
| Accuracy | +/- 2° C |
| Thermal sensitivity | 0.10° C |
| Distance | |
| Storage Type | Internal memory (500 images) |
| Battery capacity | 2 hours |
| Dimensions | 3.1 x 1 x 4.9 inches |
| LCD screen | 3″ |
| Refresh rate | 9Hz |
| Applications | Building Inspection, HVAC, Home Inspection, Restoration |
| View Angle | 41° x 31° |
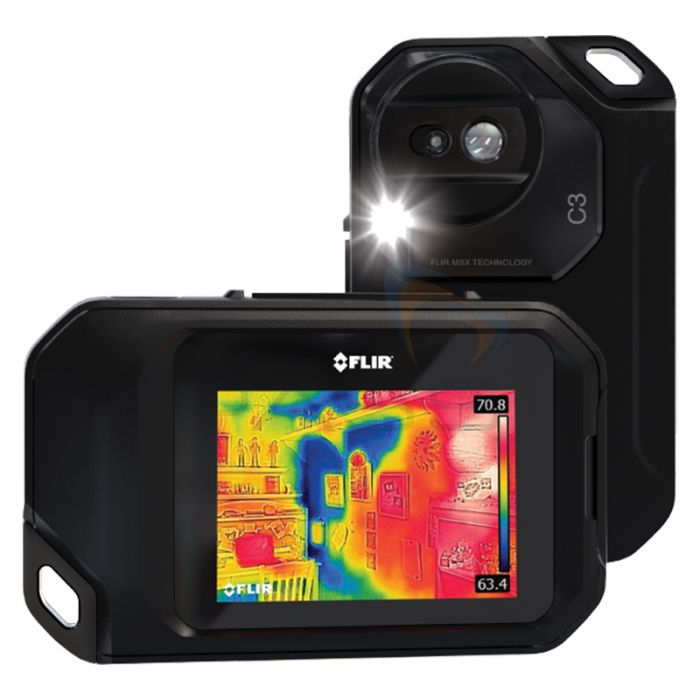
FLIR C3 – Specs & Review
The Flir C3 pocket camera is a handheld thermal camera with a ruggedized design that has the form factor of a pocket digital camera. It is slim, it can fit anywhere and it has a intuitive touch screen with auto orientation for easy viewing. This particular model is the updated version of the Flir C2.
We like the connectivity options on this infrared camera: USB and Wi-fi. It is also equipped with 3 elements on the back: An IR sensor, a visual camera and an LED light.
But let’s get more in-depth with our Flir C3 review and have a look at the real world usage.
It takes just about 10 seconds for the camera to fully boot up but that time can change depending on how often you use it.
On the top left corner you get the temperature reading in Fahrenheit or Celsius depending on what setting you’ve chosen.
You can change the color palette between 4 different modes: Rainbow, Iron, Rainbow HC (High-Contrast) and Grayscale. The camera continuously readjusts the temperature scale and colors depending on the hottest and the coldest spots in the image.
You can switch between the different camera modes, you can have either just the infrared image, just the visual camera, you can have a PIP picture-in-picture mode where on the screen it displays the visual image but in the middle a portion of it is the IR data. There is also the MSX mode which is the party piece of this camera that overlaps the IR image over the visual image (Even though this is a standard now more or less, back when it was released it was a bit of an innovation). Flir’s MSX image enhancement technology probably does the best job here out of all the manufacturers.
The camera can be set to show you the temperature in the center spot but it also has a cold and hot spot mode where it dynamically moves the crosshair over the coldest or hottest point in the image.
Because this is an imaging system with wifi, you can set it up to stream via Wi-fi. It will create its own wi-fi network and you can connect to it using the Flir App for iOS or Android. With it you can either take a photo using the app and also download the photos from its image gallery.
This portable thermal camera can also be used for streaming video via Flir Tools software, but remember, that is not going to contain any kind of radiometric data. This is an advanced feature not usually available on low-cost thermal cameras. In the settings menu, you can of course set the emissivity. The factory default is 0.95 which works for most situations but when you are measuring body temperature on the forehead or doing skin temperature screening, you should set it to somewhere around 0.78. Things like styrofoam have a 0.6 emmisivity value and also special materials like polished silver have a 0.02 value. You can also set the reflected temperature.
You can set the language, date and time and switch between Fahrenheit and Celsius.
FLIR C3 – Thermal imaging quality
The device boasts an IR resolution of 80 x 60 and here is one of the C3’s weak points. At this price, you can get a camera with 4 times as many pixels.
It is equipped with not only an infrared sensor but also a visual camera and the images from both sources are overlapped using Flir’s unique MSX technology.
The files are saved in JPEG format together with all the radiometric data for the 4800 pixels that you can later edit on the Flir desktop app (Flir Tools professional reporting software) The FLIR C3 compact thermal imaging camera has auto orientation for easy switching between landscape and portrait mode.
The refresh rate of the sensor is the standard 9Hz that you would expect and there is no manual focus mode.
FLIR C3 – Temperature Range, Accuracy
The Flir C3 compact thermal imaging system has a thermal sensitivity of 0.10° C which is perfect, it means that the temperature only has to change by about 0.10 degrees for it to trigger a change in the measured value.
The temperature measurement range is an interesting topic with this camera. Its thermal scope spans between 13 and 302°F(-10 to 150°). It can detect very low temperatures down to -10 Celsius which makes it not very great for extremely cold weather, checking insulation on freezers and freezing chambers. However it can spot hot and cold air or leaks, you can use it for facilities maintenance, HVAC or electrical repair.
If the temperature measurement range is not the widest, the thermal vision accuracy is much better with a +/-2° C accuracy.
It has a decent viewing angle of 41° by 31°.
FLIR C3 – Battery life & Memory
The Flir thermal imager uses an internal memory storage instead of an SD card and it can hold about 500 thermal images on it together with all their radiometric data.
The design is sturdy and the build quality is superb, but remember that it is not waterproof nor dustproof so you need to be careful how you carry it around and use it.
The LCD touchscreen is our favorite part because it is high-resolution and easy to work with. You can use this camera in plumbing to inspect leaks, roofing to see where water might be getting in or where you are losing precious heat, maintenance, HVAC inspections, you can use it if you are an electrician and want to spot where hot spots might be in the wiring or inspect a circuit board and generally around the house or even building inspections. You just have to be creative with use cases and i’m sure you will find a lot of them.
Some people have thought of mounting these on tripods to monitor people coming in and out of buildings but for that we recommend professional tools from FLIR like the EST thermal screening solutions.
In the package you get the slim and sturdy camera, Power Supply / Charger (with adapters for USA, UK, Canada, Australia), a Micro USB cable, a nylon pouch and a tripod mount.
Flir offers you a 2-year warranty for the camera and a 10-year warranty for the IR sensor. If you want a smartphone version of this camera, have a look at the Flir One Pro. Flir Systems also makes voltage detectors, digital multimeters and other electronic test kits alongside IR thermometers.
